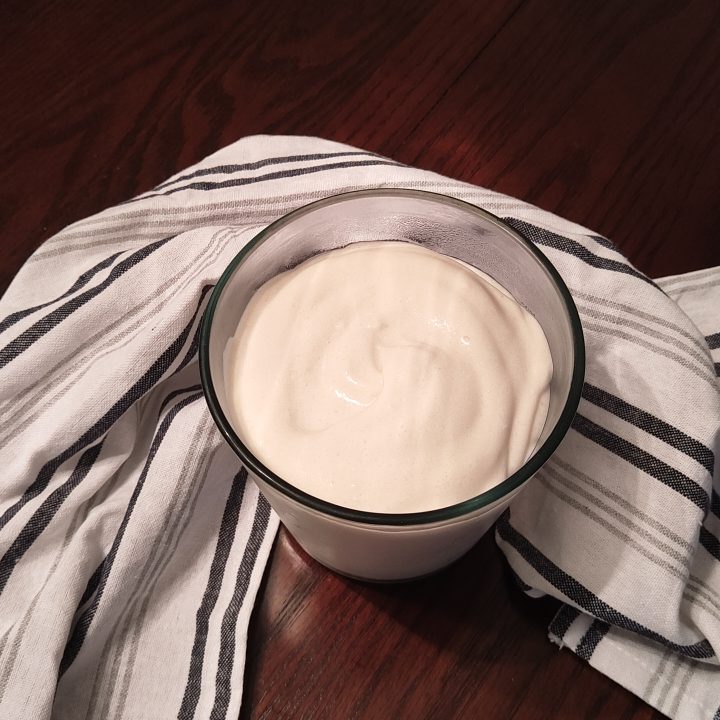
Instant Pot Coconut Yogurt

This Instant Pot Coconut Yogurt recipe has been contributed by one of our very own members in the AIP Recipe Collection Facebook Group. She’s generously offered to share this recipe since so many have a challenge getting their coconut yogurt just right.
♥ Thank-You Mistie ♥
Mistie explained that when she started making coconut milk yogurt she tested a lot of recipes – some with coconut cream, others with coconut milk, but she couldn’t quite achieve the taste and texture she wanted.
After researching and experimenting with yogurt making she tweaked a few recipes and arrived at this method. It’s important to note that she recommends using full-fat, additive free coconut milk and stresses the need for using some specific strains of probiotics.
Interestingly too, non-dairy yogurt does not self-propagate the way dairy yogurt does, so a fresh starter is required each time. Mistie suggests purchasing a bottle of good quality probiotics (follow the link in the ingredients for her recommendation or see the notes below for more details) as it’s more cost effective than purchasing “yogurt starter cultures” available on the market (many of which aren’t AIP compliant anyway).
While Mistie’s recipe is for plain, unsweetened yogurt, I’ve added my suggestion for a sweetened vanilla option below but you may want to reserve some aside un-flavored for cooking – any way you choose to enjoy it … it’s delish!
VERY IMPORTANT!! Follow the instructions for this recipe precisely! Follow the steps in the order they are presented. The gelatin is heat activated for this recipe and your yogurt will not thicken if you deviate from the directions.
Now, on to the recipe!

Instant Pot Coconut Yogurt
Prep Time:
30 minutes
Cook Time:
1 day
Additional Time:
12 hours
Total Time:
1 day 12 hours 30 minutes
♥ RECIPE BY: AIP Recipe Collection Group Member Mistie Charles ♥
Ingredients
OPTIONAL : For Sweetened Vanilla Yogurt
Instructions
- Shake coconut milk and pour into the Instant Pot insert.
- Sprinkle gelatin over the coconut milk.
- Allow gelatin to bloom on top of the coconut milk for 3-5 minutes.
- Push the “Sauté” button on your InstantPot.
- As the coconut milk heats up, use an immersion blender or whisk to blend the gelatin into the coconut milk. This also helps ensure the coconut milk will not separate.
- Bring the coconut milk just to a rolling boil and then turn off the heat.
- Allow the coconut milk to cool to 80-90 degrees. If you want to do this quickly, set the bottom of the InstantPot insert in an ice bath and check the temperature with a thermometer.
- Once the coconut milk has cooled, sprinkle 2 capsules of the probiotic on top and whisk to combine.
- Place the InstantPot insert back in the machine if you've removed it and secure the lid and close the vent. Set the yogurt function for 24 hours.
- After 24 hours, use an immersion blender or whisk to blend the yogurt.
- Pour or spoon the yogurt into a bowl or small jars ad place in the refrigerator for 12 hours.
- After 12 hours of refrigeration your yogurt is ready to enjoy! (If it has separated, simply mix well.)
- If you wish to flavor your yogurt, add it after the 12 hours of refrigeration and simply blend it in.
Occasionally a batch may separate. If this happens, simply use a blender or immersion blender to thoroughly combine again.
TIP: If you're using a regular blender for this task make a smoothie immediately after so there is no yogurt wasted.
Notes
After testing a number of strains of probiotics and brands, Mistie suggests your probiotic should containing the following strains - Bifidobacterium bifidum, Lactobacillus acidophilus, Lactobacillus casei, Lactobacillus delbrueckii subsp bulgaricus, Lactobacillus rhamnosus, Streptococcus thermophiles (She uses Innate Response Flora 5-14)