Carrot Cake with Creamy Cheesy Frosting
This post contains affiliate links. Click here to see what that means.
Looking for the moist delicious AIP carrot cake? (See what I did there?) Look no further! This recipe will satisfy even the non-AIPers in your midst and keep them coming back for more – Yum-Ohhhhh …. so good!
Since traditional cake is often so much about the cream cheese icing, my frosting recipe calls for optional non-fortified nutritional yeast (you can read more about the non-fortified specification here and why it’s important) – to give it that cheesy flavor, but I personally love the frosting without it!
For me, the goal is always to use easy-to-find ingredients that aren’t expensive and prep shouldn’t take you too long … we already spend a LOT of time in the kitchen, so making a treat like this shouldn’t be torture!
I hope you enjoy this as much as my family and I do! ♥

Carrot Cake with Creamy Cheesy Frosting
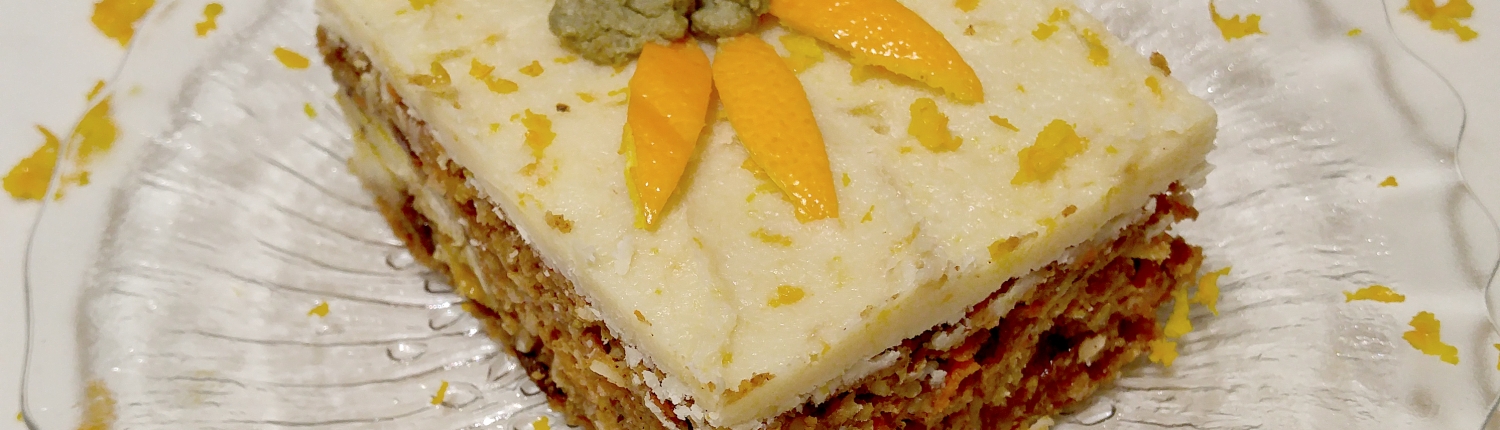
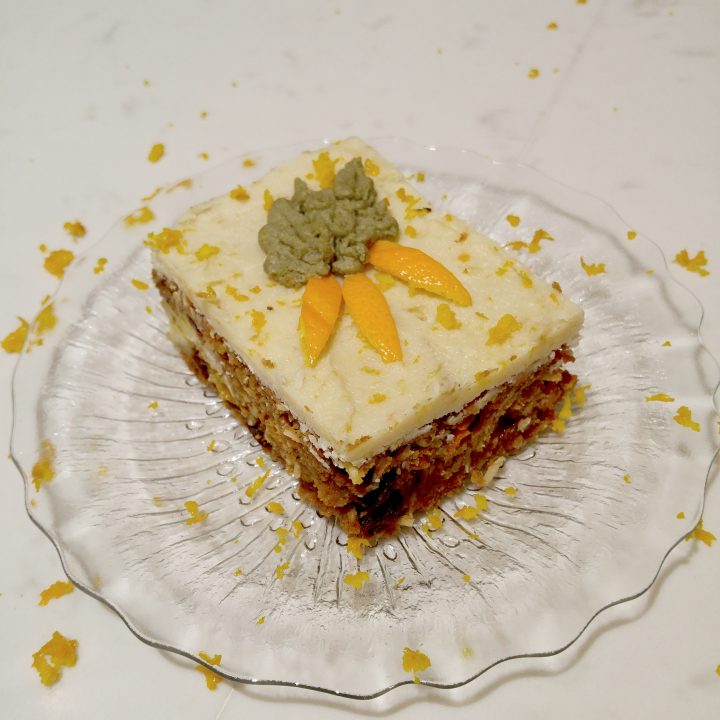
♥ RECIPE & IMAGES BY: AIP Recipe Collection ♥ This incredibly moist cake will make you forget this is anything but a traditional carrot cake and the creamy frosting comes with options!
Ingredients
Carrot Cake
- 1/2 Tightly Packed Cup Grated Carrots, slightly heaping
- 1/2 Heaping Cup Shredded Unsweetened Coconut
- 3/4 Cup Raisins
- 2 Medium-Large Yellow Plantains (some black spots are fine)
- 1 Large, Ripe Banana
- 1/2 Cup Pumpkin Puree
- 1/2 Cup Unsweetened Apple Sauce
- 1/4 Cup Room Temperature Coconut Oil (Not melted)
- 1/3 Cup Pure Maple Syrup
- 1/4 Cup Arrowroot Starch
- 1/4 Cup Coconut Flour
- 1 1/2 tsp Ceylon Cinnamon
- 1/4 tsp Ground Cloves
- 1 1/4 tsp Baking Soda
- 1/4 tsp Cream of Tartar
- 1 Tbsp Apple Cider Vinegar
Creamy Cheesy Frosting
- 1/2 Large Ripe Banana, mashed
- 1 1/2 Tbsp Maple Syrup
- 1 tsp Orange Juice
- 1/2 tsp Lemon Juice
- 1/8 tsp Himalayan Sea Salt (fine grind)
- 1 tsp Zested Orange Rind
- 1 tsp Zested Lemon Rind
- 1/2 - 1 Tbsp Non-Fortified Nutritional Yeast (optional but adds more of a cheesy flavor - start with 1/2 and add more to taste)
- 3/4 Cup Coconut Butter, melted
Instructions
- Preheat oven to 350* F and lightly grease an 8" square pan with coconut oil or avocado oil.
- In a large bowl combine carrots, shredded coconut and raisins - set aside.
- In a high speed blender or food processor, chop/process your peeled plantains. Do not worry about them being a little chunky.
- To your blender or processor add the banana, pumpkin puree, apple sauce, coconut oil, maple syrup, arrowroot starch, coconut flour, cinnamon, cloves, baking soda, cream of tartar and apple cider vinegar in a high-powered blender or food processor and process until smooth.
- Gently fold the blended ingredients into the large bowl containing the carrot, coconut and raisin mixture.
- Spread batter into the prepared pan and bake for 50 minutes or until a toothpick inserted in the center comes out clean.
- Allow the cake to cool completely.
NOTE: If you don't plan on using the cake right away, once it's cooled, cover it and store in the fridge until the day you plan to serve - then prepare the frosting as follows
FROSTING:
** Only start making your frosting once your cake is completely cooled and ready to be frosted. ** - In a small bowl, ensure your banana is very well mashed and then add all ingredients except the coconut butter and nutritional yeast. Mix well by hand with a fork.
- Gently melt your coconut butter using a double boiler (I prefer this method so over a microwave because it's far too easy to overcook or scorch your ingredients).
- Incorporate melted coconut butter into the other frosting ingredients and blend well. If you choose to use the nutritional yeast, add half of it at the same time as the coconut butter and then test the flavor and adjust accordingly.
- Immediately spread the frosting evenly over the cake.
- Decorate with additional orange zest and / or toasted unsweetened shredded coconut if you wish. * See below for carrot decoration
- The icing firms up fairly quickly even at room temperature, but you should store your cake, covered, in the refrigerator. It will keep several days to a week in the fridge and is equally as delicious days after making.
Notes
Decorating Tip!
If you'd like to add some adorable carrot decorations, simply use a very thin slice of orange peel - as thin as you can get it so it can be eaten, cut into a carrot shape.
For the carrot leaves use a small amount of reserved frosting and add a pinch of Matcha Powder or spirulina if you've reintroduced). The powders used to color the frosting will change the texture and taste so you don't want to add too much. You will also need some additional liquid to thin it down - I used a tiny bit of fresh squeezed orange juice a little at a time until I achieved the right consistency.
Add your green frosting to a small sandwich bag in the corner, snip the tip of the corner and immediately pipe the frosting to create the carrot leaves.
TIP: If you aren't comfortable piping, try this on a piece of parchment paper and transfer the finished decoration with a thin knife, or just practice until you're comfortable with it and then return the icing to your make-shift icing bag and pipe directly on the cake.